
Turkey Teeth Gone Wrong Pictures: What You Are Actually Looking At
Turkey teeth gone wrong pictures mostly show four things: teeth shaved to pegs, inflamed gums, opaque one-shade crowns and flat, identical edges. Once you can name each feature, the photos turn from shock content into a checklist you can actually use.
This guide reads those photos the way a dentist does. No gallery of other people's misery, just what each feature means, what it predicts, and what the pictures systematically leave out.
What Do These Photos Actually Show?
Most viral turkey teeth photos fall into three categories: mid-treatment shots of prepared teeth, failed crown work months or years on, and marketing photos taken minutes after fitting. Each tells you something different, and captions almost never say which one you are looking at.
It helps to know who posts each type. Mid-treatment shots come from patients documenting their trip, failure photos from repair dentists and press pieces, and flawless sets from clinic marketing feeds. Each source selects for its own purpose before you ever see the image.
That matters because the scariest-looking category, freshly prepared teeth, is sometimes normal dentistry photographed at its least flattering moment. And the most reassuring category, the instant marketing shot, hides everything that decides whether the work lasts. The four features below cut through both.
So what are those pegs telling you?
What Do the Shaved Pegs Mean?
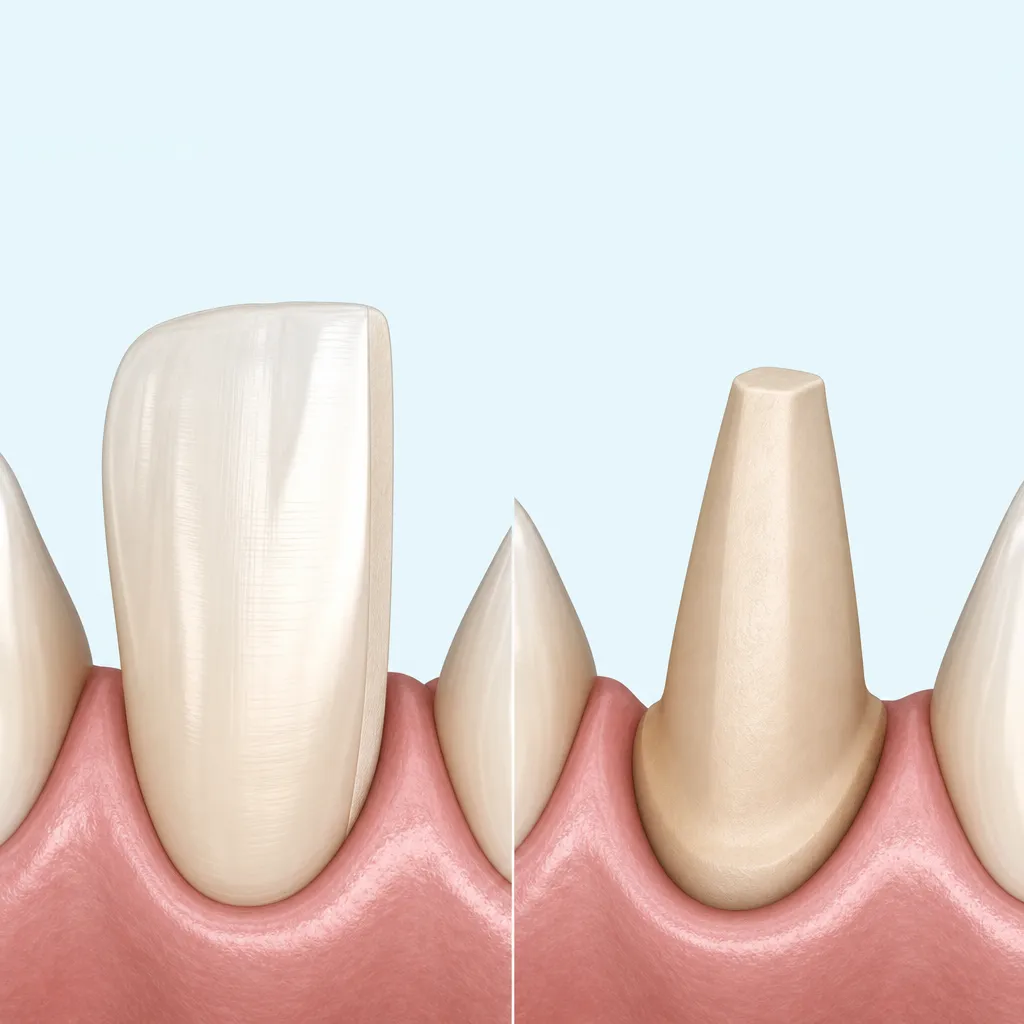
Teeth shaved to pegs mean full-coverage crown preparation, never veneers. A crown needs 1mm to 2mm removed from every surface, so twenty prepared teeth photograph as a row of small brown stumps, which is where the "shark teeth" nickname comes from.
The shape of the pegs is the detail worth studying. Preparations with visible height and gently converging walls are textbook crown work, alarming to look at and clinically fine. Stumps whittled into short thin spikes are over-preparation: more tooth removed than any crown needs, weaker foundations, and a higher chance of the nerve dying underneath.
One background detail is worth checking in any peg photo: where the temporaries are. Prepared teeth should be covered with temporary crowns within hours, so a patient filming bare pegs at dinner was sent out unprotected. That, more than the pegs themselves, marks the corner-cutting clinic.
What the peg photos really tell you is which treatment was sold. If you were quoted "veneers" and the mid-treatment mirror shows pegs, the plan was crowns all along. For the honest comparison, see what teeth look like under veneers: lightly dulled enamel, nothing like a stump.
Why Are the Gums So Red, Swollen or Dark?
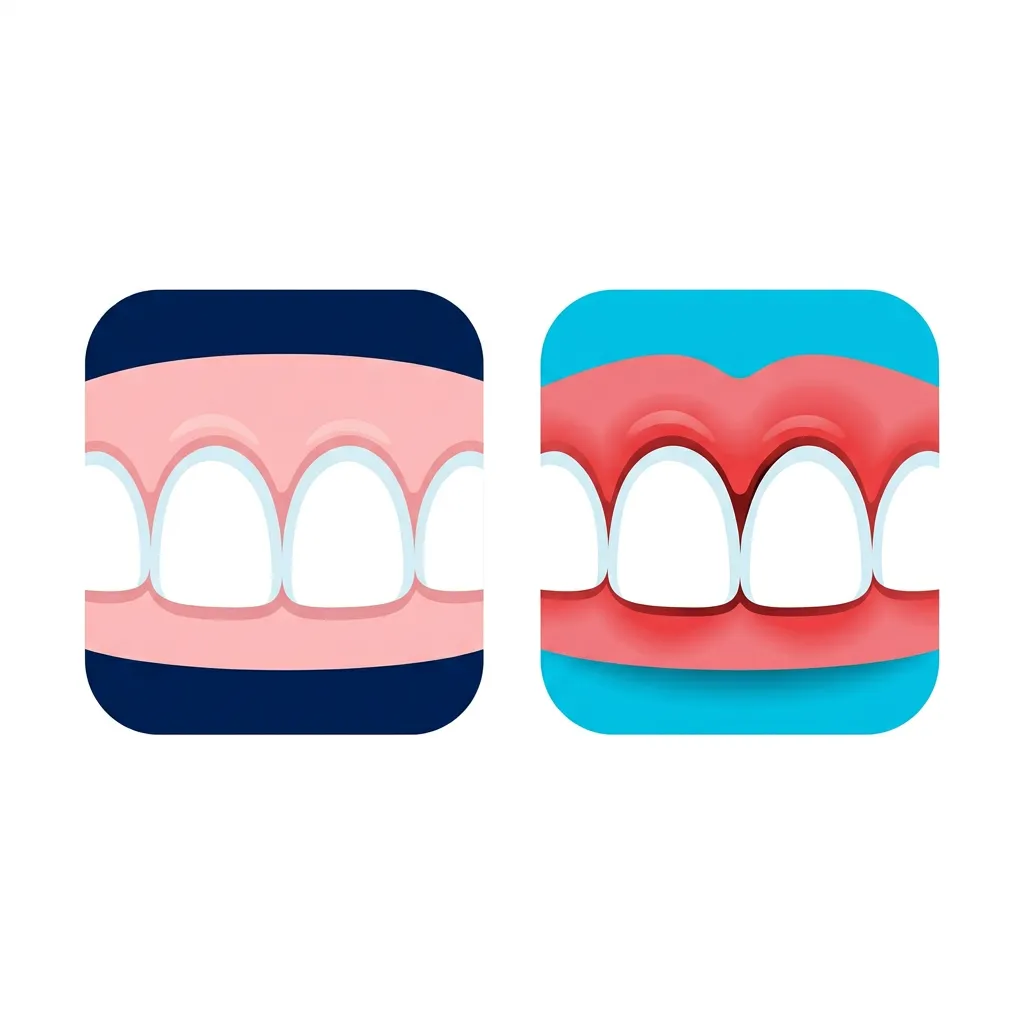
Angry gums in turkey teeth photos usually mean crown margins forced under the gum line, cement left behind after fitting, or crowns too bulky for the gum to seal around. Healthy gums hug a well-fitted crown as a pale pink knife edge. Inflamed ones sit puffy, glossy and red, and bleed in the photo.
A dark line along the gum is a different signal: either a metal-cored crown showing through as the gum recedes, or the stained edge of a poor fit. Fresh-fit marketing photos rarely show any of this because inflammation takes weeks to develop, which is exactly why photos taken on fitting day prove so little.
Timing changes what red means, to be fair to the photos. Gums a day or two after crown fitting are allowed to look bruised and tender, because fitting involves cord, cement and pressure at the gum line. The photos that condemn a clinic are the week-six ones that still look like day two.
When you assess a clinic's gallery, hunt for healed photos: gums at least a few weeks on, pink, matt and tight against every margin. A clinic that only publishes fitting-day pictures either does not follow up or does not like what follow-up shows.
Noticed every bad set is the same white?
Why Do Failed Sets Look Chalky, Flat and Identical?
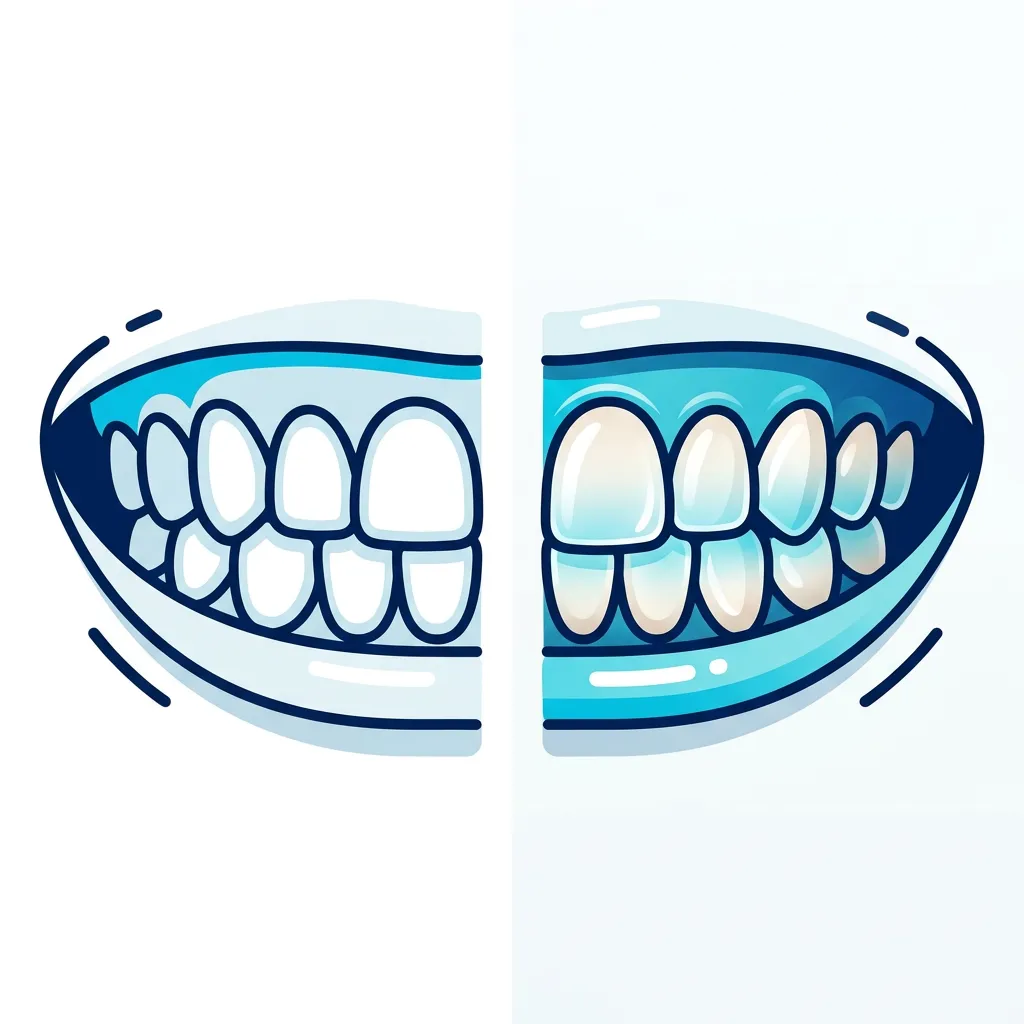
The chalky, radiator-white look comes from opaque, single-shade ceramic with no translucency. Natural enamel grades from a warmer body shade to a slightly see-through edge, and each tooth differs a little from its neighbour. Budget sets skip all of that: one flat colour, blocked out in bulk.
The flat incisal line is the second half of the effect. Real front teeth have subtly different lengths, tiny rotations and rounded corners. When a photo shows an unbroken white ruler edge from canine to canine, you are looking at a set designed on a template rather than a face.
Size completes the effect. Budget sets run large as well as white, because bulkier crowns are more forgiving to make and fit. Oversized, over-white and dead flat is the full signature, and it is why these sets read as "done teeth" from across a room.
None of this needs a trained eye, which is the useful part. Line any viral set up against three natural smiles on the same screen and the missing gradients, the missing translucency and the missing variety announce themselves in seconds.
Neither feature hurts, and that is the trap: these sets photograph as "done" and wear as a decade of looking laminated. Shade choice deserves more thought than most package buyers give it, and the turkey teeth colour chart explains how the believable whites are chosen against skin tone and the whites of your eyes.
And what is the camera leaving out?
What Don't the Pictures Show You?
The pictures hide the middle of the story. Horror galleries are selected for maximum damage, marketing galleries for perfection, and both crop out the same things: how the case was planned, how the gums healed, and what the teeth looked like at year three.
They cannot show function either: whether the bite meets evenly, whether speech changed, whether the owner chews on both sides a year later. Teeth are tools that happen to photograph well or badly, and a camera only ever tests one of those two jobs.
Lighting does quiet work too. Ring flashes bleach shades a step whiter, phone cameras in hotel bathrooms turn adequate work grim, and no photo shows a bite.
A single picture, in either direction, is close to worthless as evidence. Sequences are what count: planning, fitting, healed review, then a year on.
If a gallery leaves you unsure, ask for the boring version: the same case at planning, at fitting and at a healed review, in similar lighting. Every clinic doing careful work can produce that sequence within a day. The ones that cannot will send a brighter photo instead.
We hold ourselves to the same test. For calibration, we keep a set of realistic turkey teeth before and after results showing healed cases rather than fitting-day gloss, and it is worth seeing what well-planned turkey teeth look like at the design stage, because a good result is decided there, not in the editing app.
Using What You Have Just Learned
The features in these photos are the visible ends of failure chains that start with planning, speed and aftercare. How each chain runs, from package-first quotes to dead nerves and debonded crowns, is mapped in the full picture on turkey teeth going wrong, including how often it genuinely happens.
Reading photos is half a screening skill. The other half is reading clinics: schedules, prices, consultations and guarantees all leak the same warnings before any drill starts. Run every shortlisted clinic past the red flags to check before you book, and most of the smiles in those galleries stop being possible futures.